Special effects such as embossing, foiling or die cutting are terrific ways to add style and interest to your printed piece. While each one brings a different appeal, setting up your artwork so your piece prints successfully is the same for all three.
The primary goal when setting up your artwork is to make sure your print partner can easily identify the area on your piece that is being embossed, foiled or cut. This is best done by making the special effect you’re using stand out in your print file.
As a first piece of advice, only use professional desktop layout programs such as InDesign or Illustrator to create projects with special effects. Using these programs will allow you to create your file as vector art. This is a must since the machines and presses that read your file to create special effects can only read vector information.
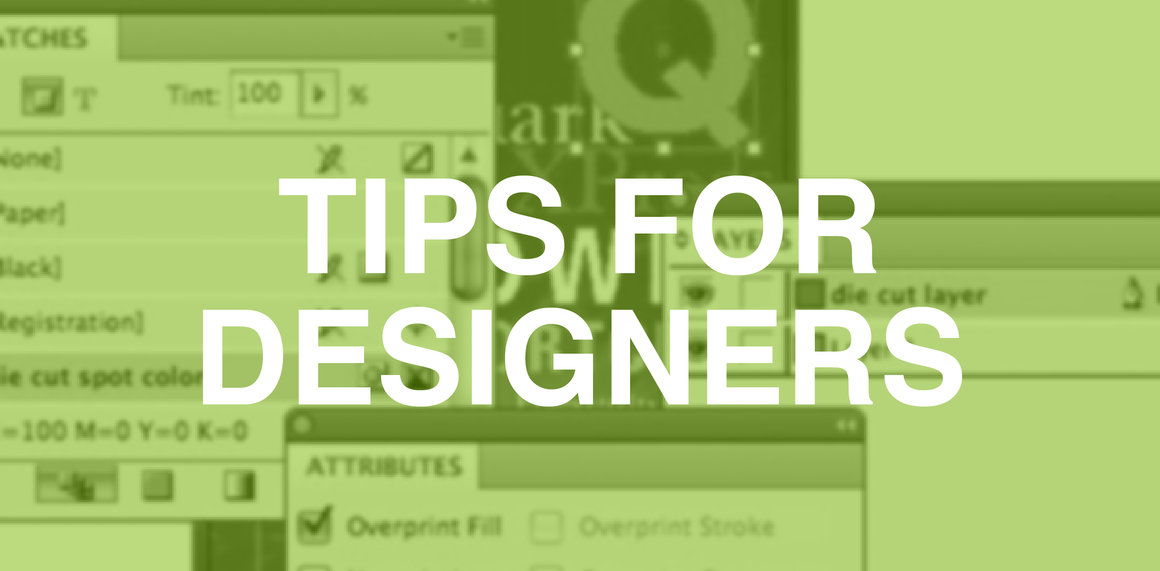
To get started, create a new swatch from the swatches panel in InDesign or Illustrator and give it a name like “foil,” or “emboss,” or “die line” depending on what effect you’re setting up.
Make this swatch’s type Spot Color, then pick a highly noticeable color like magenta and make it 100%. To ensure this spot color does not knock out other print elements, set it to overprint.
You can then go about creating the die line, emboss or foil area on a separate layer in your artwork. This will let you toggle the effect’s visibility on and off as needed.
For foiling and embossing, make the area to be embossed or foiled 100% of your spot color. Only the areas covered by this “spot color” will get embossed or be printed with foil.
If doing a die cut, make sure you create some space between text or any design elements and the die line. You don’t want to have anything important cut off by the die.
When submitting your file to your printer you can submit all your artwork in one file if you have the special effect set up on its own layer.
However, if you want to be extra careful, you can submit two files—one with your complete artwork including the effect layer, and one with just your special effect layer.


Leave a Reply